
Setting up SSH commit signing
Introduction
SSH commit signing is the preferred option on GitHub and GitLab because it is simpler, more secure by default, and better aligned with modern developer workflows. Unlike GPG, SSH keys do not require complex keyrings, manual trust management, or fragile local configuration, making them easier to set up and maintain across machines. SSH keys are already widely used for repository access, benefit from strong hardware-backed support (such as security keys), and integrate cleanly with both platforms’ verification systems—reducing friction while still providing clear, cryptographically verifiable proof of authorship. SSH commit signing requires Git version 2.34.0 or newer, which introduced native support for signing commits and tags using SSH keys. Earlier Git versions only support GPG-based signing, so upgrading is necessary to use SSH-based commit signing reliably on GitHub and GitLab.
SmartGit with signed commits
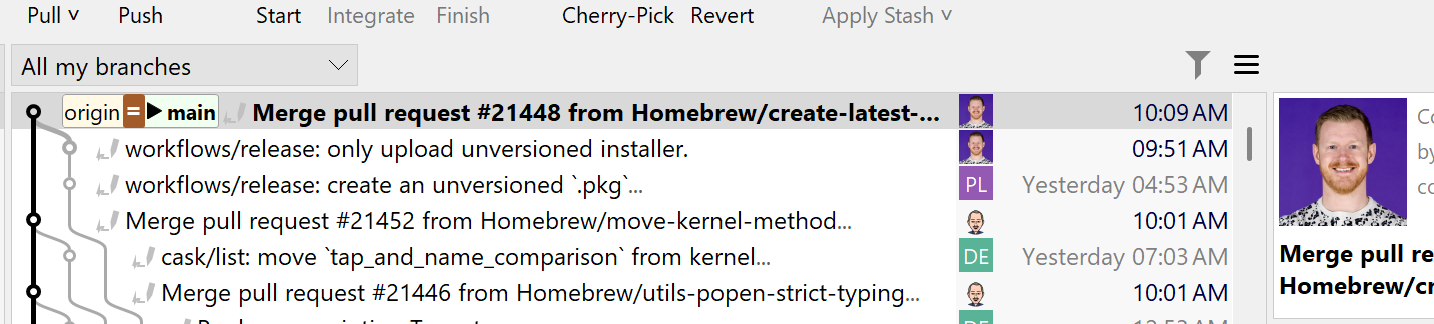
SmartGit supports signed commits by visually indicating their presence in the commit graph: when a cryptographic signature exists, a subtle grey pen icon appears to the left of the commit, signaling that the commit is signed.
Warning
Operations such as rebasing, amending commits, or other force-push actions rewrite commit history and generate new commit hashes, even if the code changes remain the same. As a result, original commits—and their associated authorship or signatures—are replaced, which can alter or obscure accountability and audit trails. As a path forward, history-rewriting operations should be limited to local work before pushing to a shared repository, and teams should consider workflows that favor merge commits, which preserve original commit identities and maintain clearer traceability over time.
Configuration
To get started, you simply need to set up your local environment in a few straightforward steps.
Open a Git Bash (for example via the SmartGit Tools menu) and execute the following commands:
git --version ssh-keygen -t ed25519 -C "$(git config user.email)"
git config --global gpg.format ssh
git config --global user.signingkey ~/.ssh/id_ed25519.pub
git config --global commit.gpgsign true`
This configures SSH commit signing for your current user. If you prefer repository-local configuration, remove the --global flag from the commands that modify the Git configuration.
From this point on, every commit will be signed with your SSH key. To allow your hosting provider to verify these commits, you must upload your public key.
You can print your public SSH key with:
cat ~/.ssh/id_ed25519.pub`
Copy the output and add it to your hosting provider.
-
For GitHub, navigate to
https://github.com/settings/ssh/new
and add a new SSH key of type Signing Key. -
For GitLab, navigate to
https://gitlab.com/-/user_settings/ssh_keys
and add a new SSH key of type Authentication & Signing or Signing.
If you want to validate signed commits locally, maintain a ~/.ssh/allowed_signers file containing the public keys of your team members, and reference it from your Git configuration:
git config --global gpg.ssh.allowedSignersFile ~/.ssh/allowed_signers
You can add your own key with:
echo "$(git config user.email) $(cut -d' ' -f1-2 ~/.ssh/id_ed25519.pub)" >> ~/.ssh/allowed_signers
You are now set up and can inspect cryptographically verified commits locally by running:
git log --show-signature -1
As of version 25.1, SmartGit does not display commit verification details by default. If this is important for your workflow, you can use a lightweight PowerShell script provided by Daniel Siegl (https://github.com/danielsiegl/checksshsign/). The script downloads the public keys of all contributors, verifies the authenticity of signed commits, and attaches the results as Git Notes. After running the script from the SmartGit Tools menu, the verification status becomes visible directly within the SmartGit UI for the current repository.